Every student that steps into my room knows that I love to cover my walls in posters. Some of my posters actually relate to English/Language Arts, and others are there for visual enjoyment.
My classroom is a smattering of homemade posters, fabulous student work, old college dorm posters, bought posters, and most recently posters made by an extremely talented and generous colleague and friend, Bailey
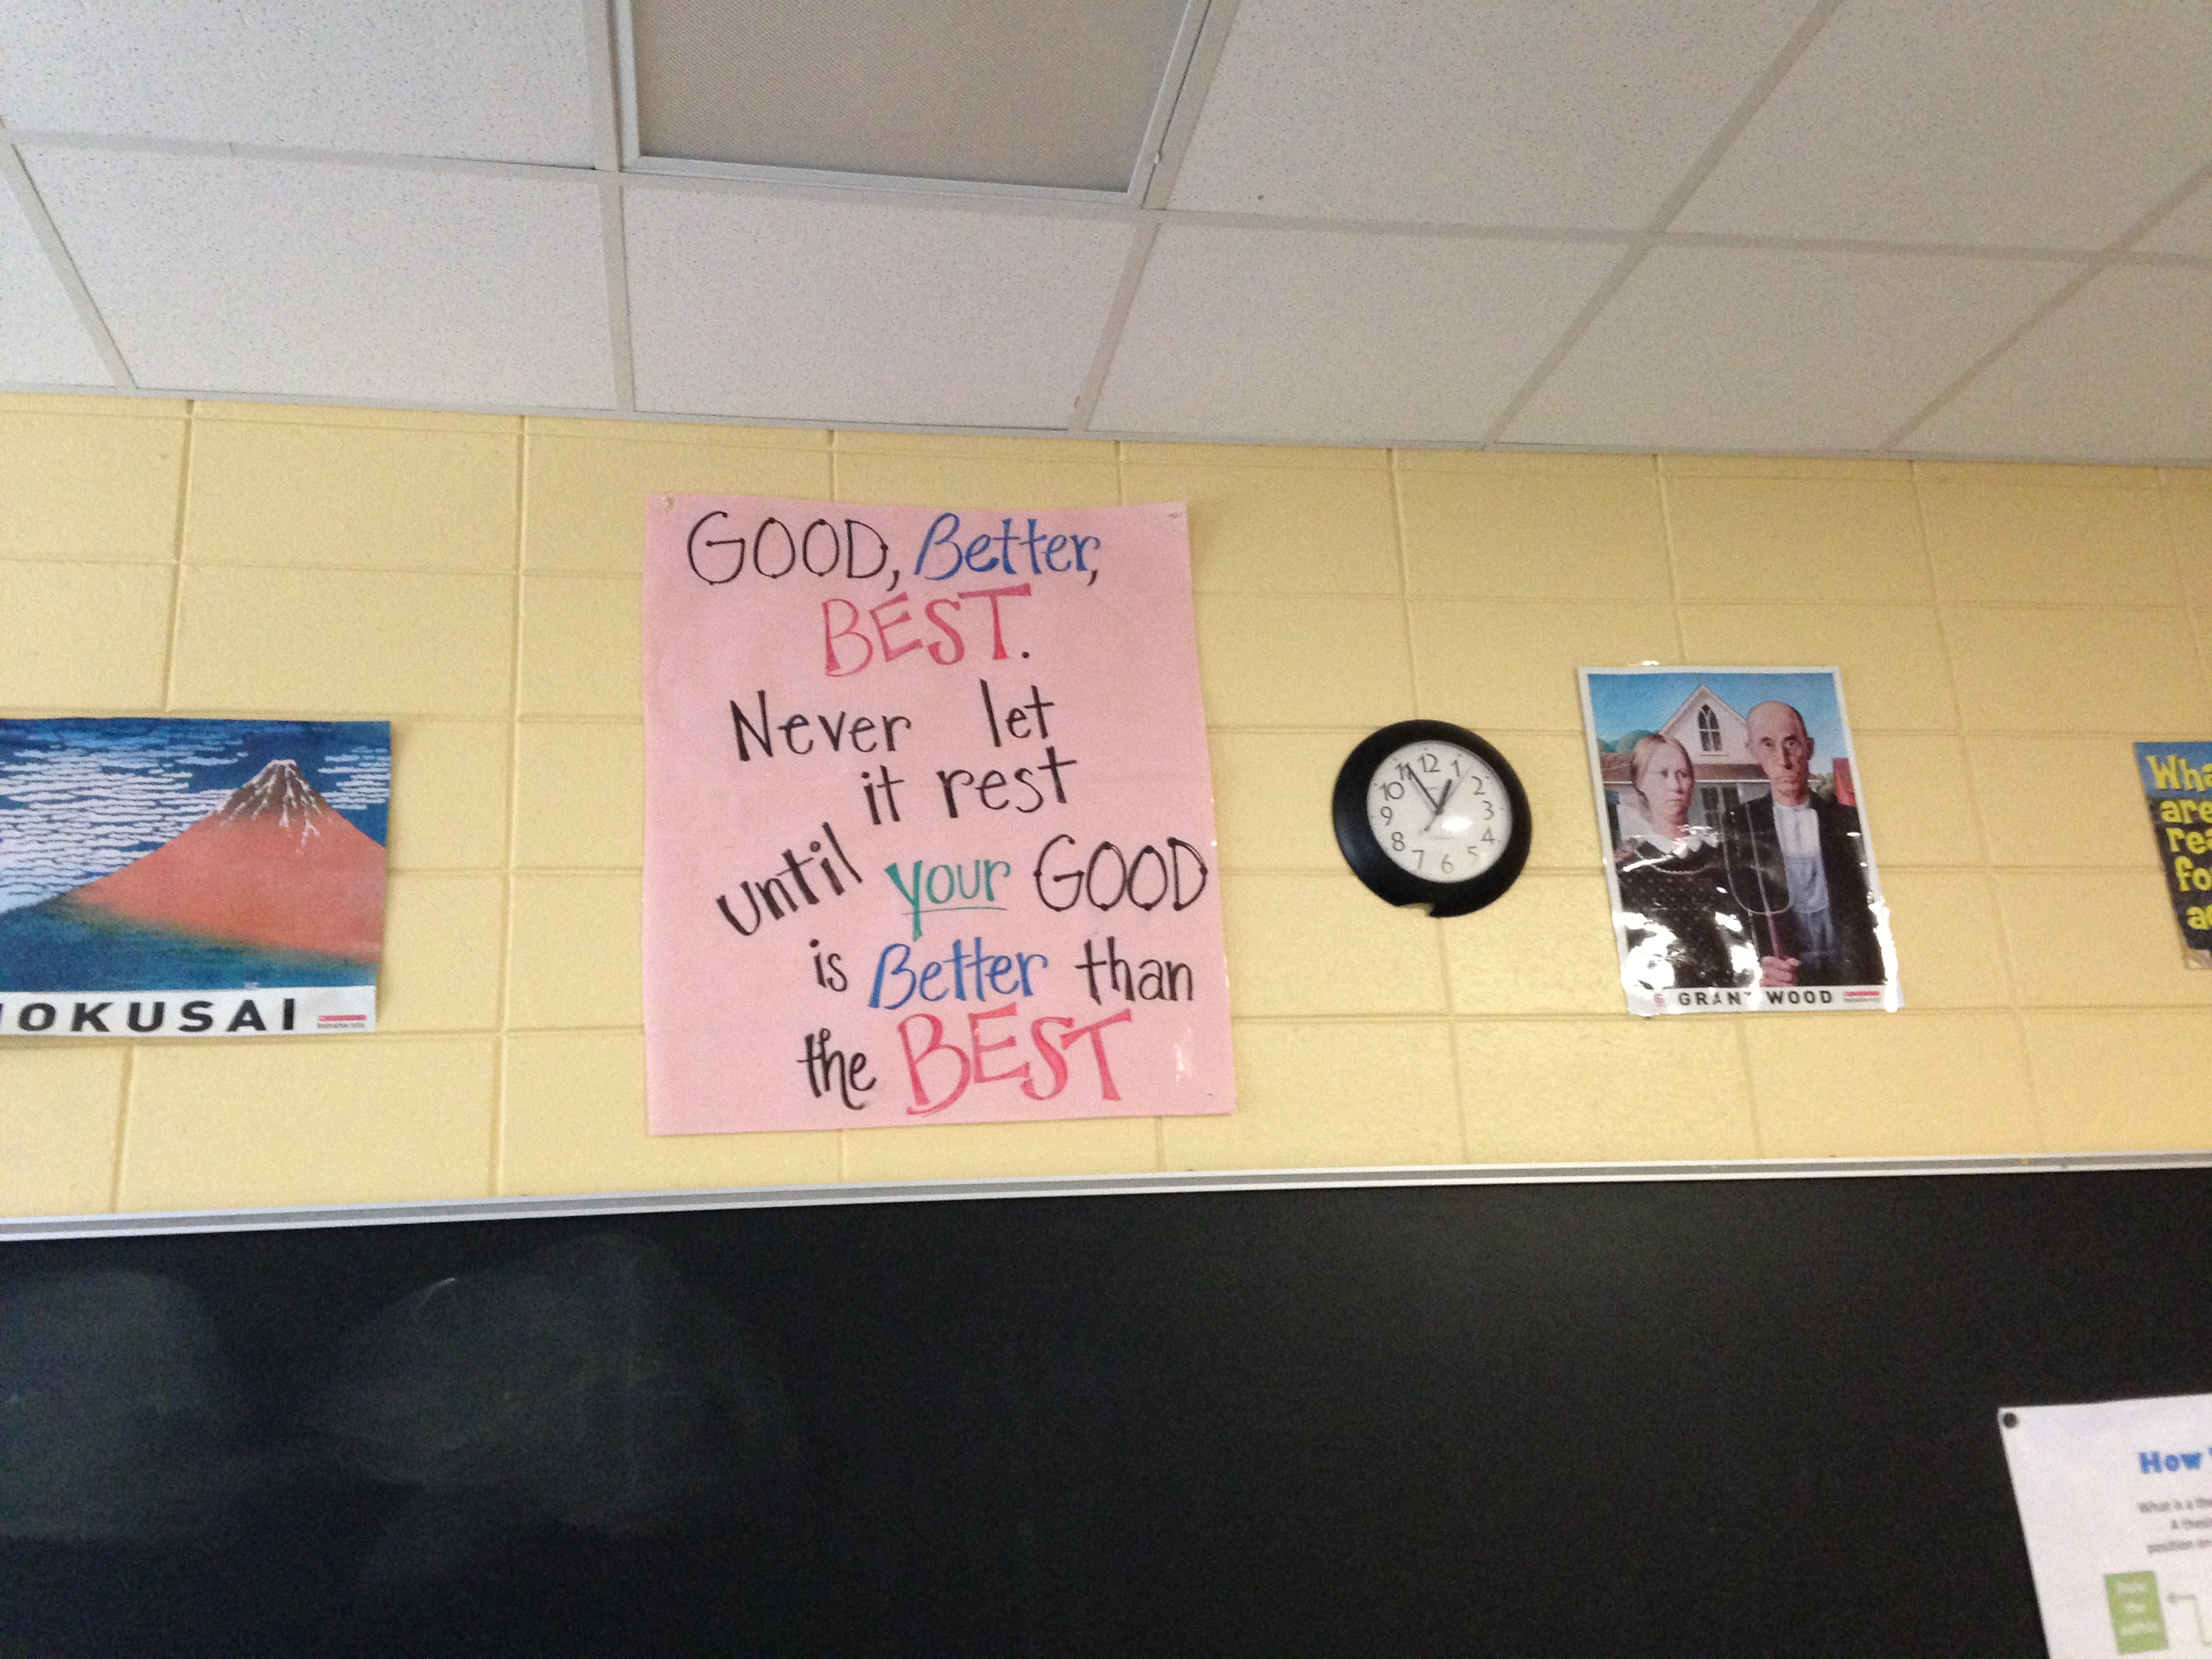
A poster from college. I like to tell my students that that painting is of me, my sister, and my mom.
My students love this saying, and as a first year teacher, I needed some motivational sayings just as much as I needed to cover my walls.
My students are extremely talented and creative. This is just a taste of the gorgeousness that they create.
What I am about to share with you, my friends, is from the generosity and creative genius of Bailey.
These are great posters for the English/Language Arts classrooms, and work well with Common Core and PARCC.
Are they not awesome? Bailey, a girl after my own heart, understands the beauty of fonts and black and white graphics.
Check them out. Download them (below). Print them. Hang them. Thank Bailey for her generosity and creativity! Thanks, Bailey!
Here are the links to pdf copies of these posters. Enjoy!
Hope everyone had a relaxing long weekend and took full advantage of the last chance to wear white. Where and when did this, can’t wear white after Labor Day, fashion rule start? White is such a versatile color that it can be worn as a neutral, an accent or an ensemble. Not to mention it looks great on everyone. If Coco Chanel loved wearing white all year round, I think it’s safe for me try this fashion faux pas. Here’s how I plan to incorporate white into my fall wardrobe.
Not wearing a white dress shirt after the summer seems unrealistic. This summery work outfit can be easily transitioned for early fall by adding a cardigan for layering.
This white a-line skirt is an easy pairing for bright colors and fun prints in the summer. For fall, I like to keep the palette simple and add a few pops of color with accessories. A jean jacket makes the perfect layering piece for chilly mornings.
I know neither the pineapple print nor the powder pink blazer screams autumn, but I can’t pass up the opportunity to wear two of my favorite pieces together.
Since I don’t drink coffee, a tweed jacket is my pumpkin spice latte. This one had me at elbow patch. On colder days, I’m thinking boots and cozy boot socks instead of flats.
If you have a craft room or designated area in your house, you are one lucky person. I had a corner in one of our extra bedrooms, and it was, shall we say, slowly starting to creep out of its designated corner. With my Joann bags of craft supplies starting to run amok, it was time to find a more permanent storage solution.
An armoire would give ample storage, but boy are some of those suckers expensive! I looked at some gently loved pieces that we could modify and paint, but for the existing price and work we would have to put in to refresh the piece, new seemed like the way to go.
Lo and behold IKEA had an unfinished pine wardrobe that seemed to fit the bill. Who knew IKEA sold unfinished furniture? Determined to get in and out of IKEA, we set out strictly to see the FJELL Armoire. We saw it, we loved it, we bought it.
image from ikea.com
I liked the fact it was unfinished—I wouldn’t have to fix dents, sand existing paint, etc. I also liked the style, it kind of had a barn look going for it. The only thing that would have to be modified was the interior of the cabinet. As this wasn’t going to be used as a wardrobe, we needed shelving instead of a clothes rack. An easy fix for my husband!
We first had to assemble the armoire—for anyone who has ever put together IKEA furniture, you know what this can be like. It took us almost 2 hours, but finally it was standing upright. As you can see it is a large piece of furniture, measuring 81 7/8” high, by 43 ¼” wide, by 25 ¼” deep.
We made one modification during the assembly process. We didn’t like the flimsy particleboard backing that came with the piece, so we cut down a ¼” piece of pine plywood instead. Also, we did not leave the entire back solid, as you can see in the photo below. We wanted air to circulate and also allow the possibility for electrical cords to come out of the back, should we want to put something electronic in there in the future.
Next up was the shelving. We decided that we wanted a space for 2 large Tupperware, a slightly shorter space for 2 baskets, a smaller space to serve as a catch-all for whatever, and then a shelf for my sewing machine and its components. I wanted the sewing machine shelf at as close to chest level as possible so I wouldn’t have to bend over too far to get it, or get out a chair in order to reach it.
I want to mention that before we measured or cut the wood for the shelves, I first went out and purchased the large Tupperware containers and storage baskets. I didn’t wind up using baskets at all—instead I found crates that had a barn wood look to them.
To fit my storage goodies, our shelf heights wound up at 21” from the bottom of the armoire for the lowest space, at 35” for the middle space, and at 42” for the top space.
To construct the shelves, we used ¾” oak plywood that we already had on hand. The cubbies are not only practical, but necessary for the structural integrity of the shelves–the vertical wood will ensure that the shelf will not sag in the middle.
Starting from the bottom, we centered the vertical wood under the lowest shelf. We used two self-boring wood screws for each horizontal shelf on each side of the armoire, screwing them in from the outside of the armoire.
We then used 2 wood screws drilling through the top of each horizontal shelf into the standing vertical wood. We continued this method as we worked our way up the shelving, and those things aren’t going anywhere! The shelves are solid and ready to hold all of my crafting supplies.
We applied wood filler to the holes on the outside of the armoire and gave it a sanding. It was all ready to be primed and painted, but that’s another project for another day!
Stay tuned for Part 2 where we try our hand at using a paint sprayer for the first time!
Share this:
Share the post "Ikea Hack: Armoire Storage Upgrade Part One"