
Remember that time, I tried to cross-stitch a heart onto a sweater? It was a pathetic attempt about which I should be embarrassed, but here I am referencing it again. Instead of leaving this venture behind me, I decided to give it another go with embroidery on tea towels.
My friend Carrie and I were meandering through JoAnn Fabrics the other day (read: I was wandering around touching everything while Carrie was putting up with my glacial pace with the patience that only a mom of three and my friend can have), and we happened upon these adorably cute embroidery iron-ons. I assured Carrie that we would be successful even though she has heard me utter these words before and knows they are not always the truth, so we left the store with two books full of iron-ons.
I am glad to report that while embroidery is not the quickest thing, it is relatively therapeutic and relaxing (keep in mind that sometimes I use those two words to describe solving an algebraic expression, weeding a garden, or cleaning a kitchen). Seriously, it is oddly relaxing.
I “whipped” up my first tea towel for my forever friend Gayle, who just bought her first house! I thought a set of tea towels and a nice kitchen handsoap made a nice housewarming/hostess gift.
Here’s a quick little tutorial. If you are familiar with embroidery, this is not for you. However, if you have never embroidered anything and want some pointers from this newb, then read on, my friends.
What you’ll Need:
- Iron Ons– Like these. — That Aunt Martha knows a good vintagely cute iron-on when she sees one.

Aren’t these iron-ons ridiculously cute?
- Tea Towels– I made Gayle’s from Ikea towels, but JoAnn Fabrics sells a pack of them, or I would hit up Marshall’s to find some plain tea towels.

Ikea Tea Towels
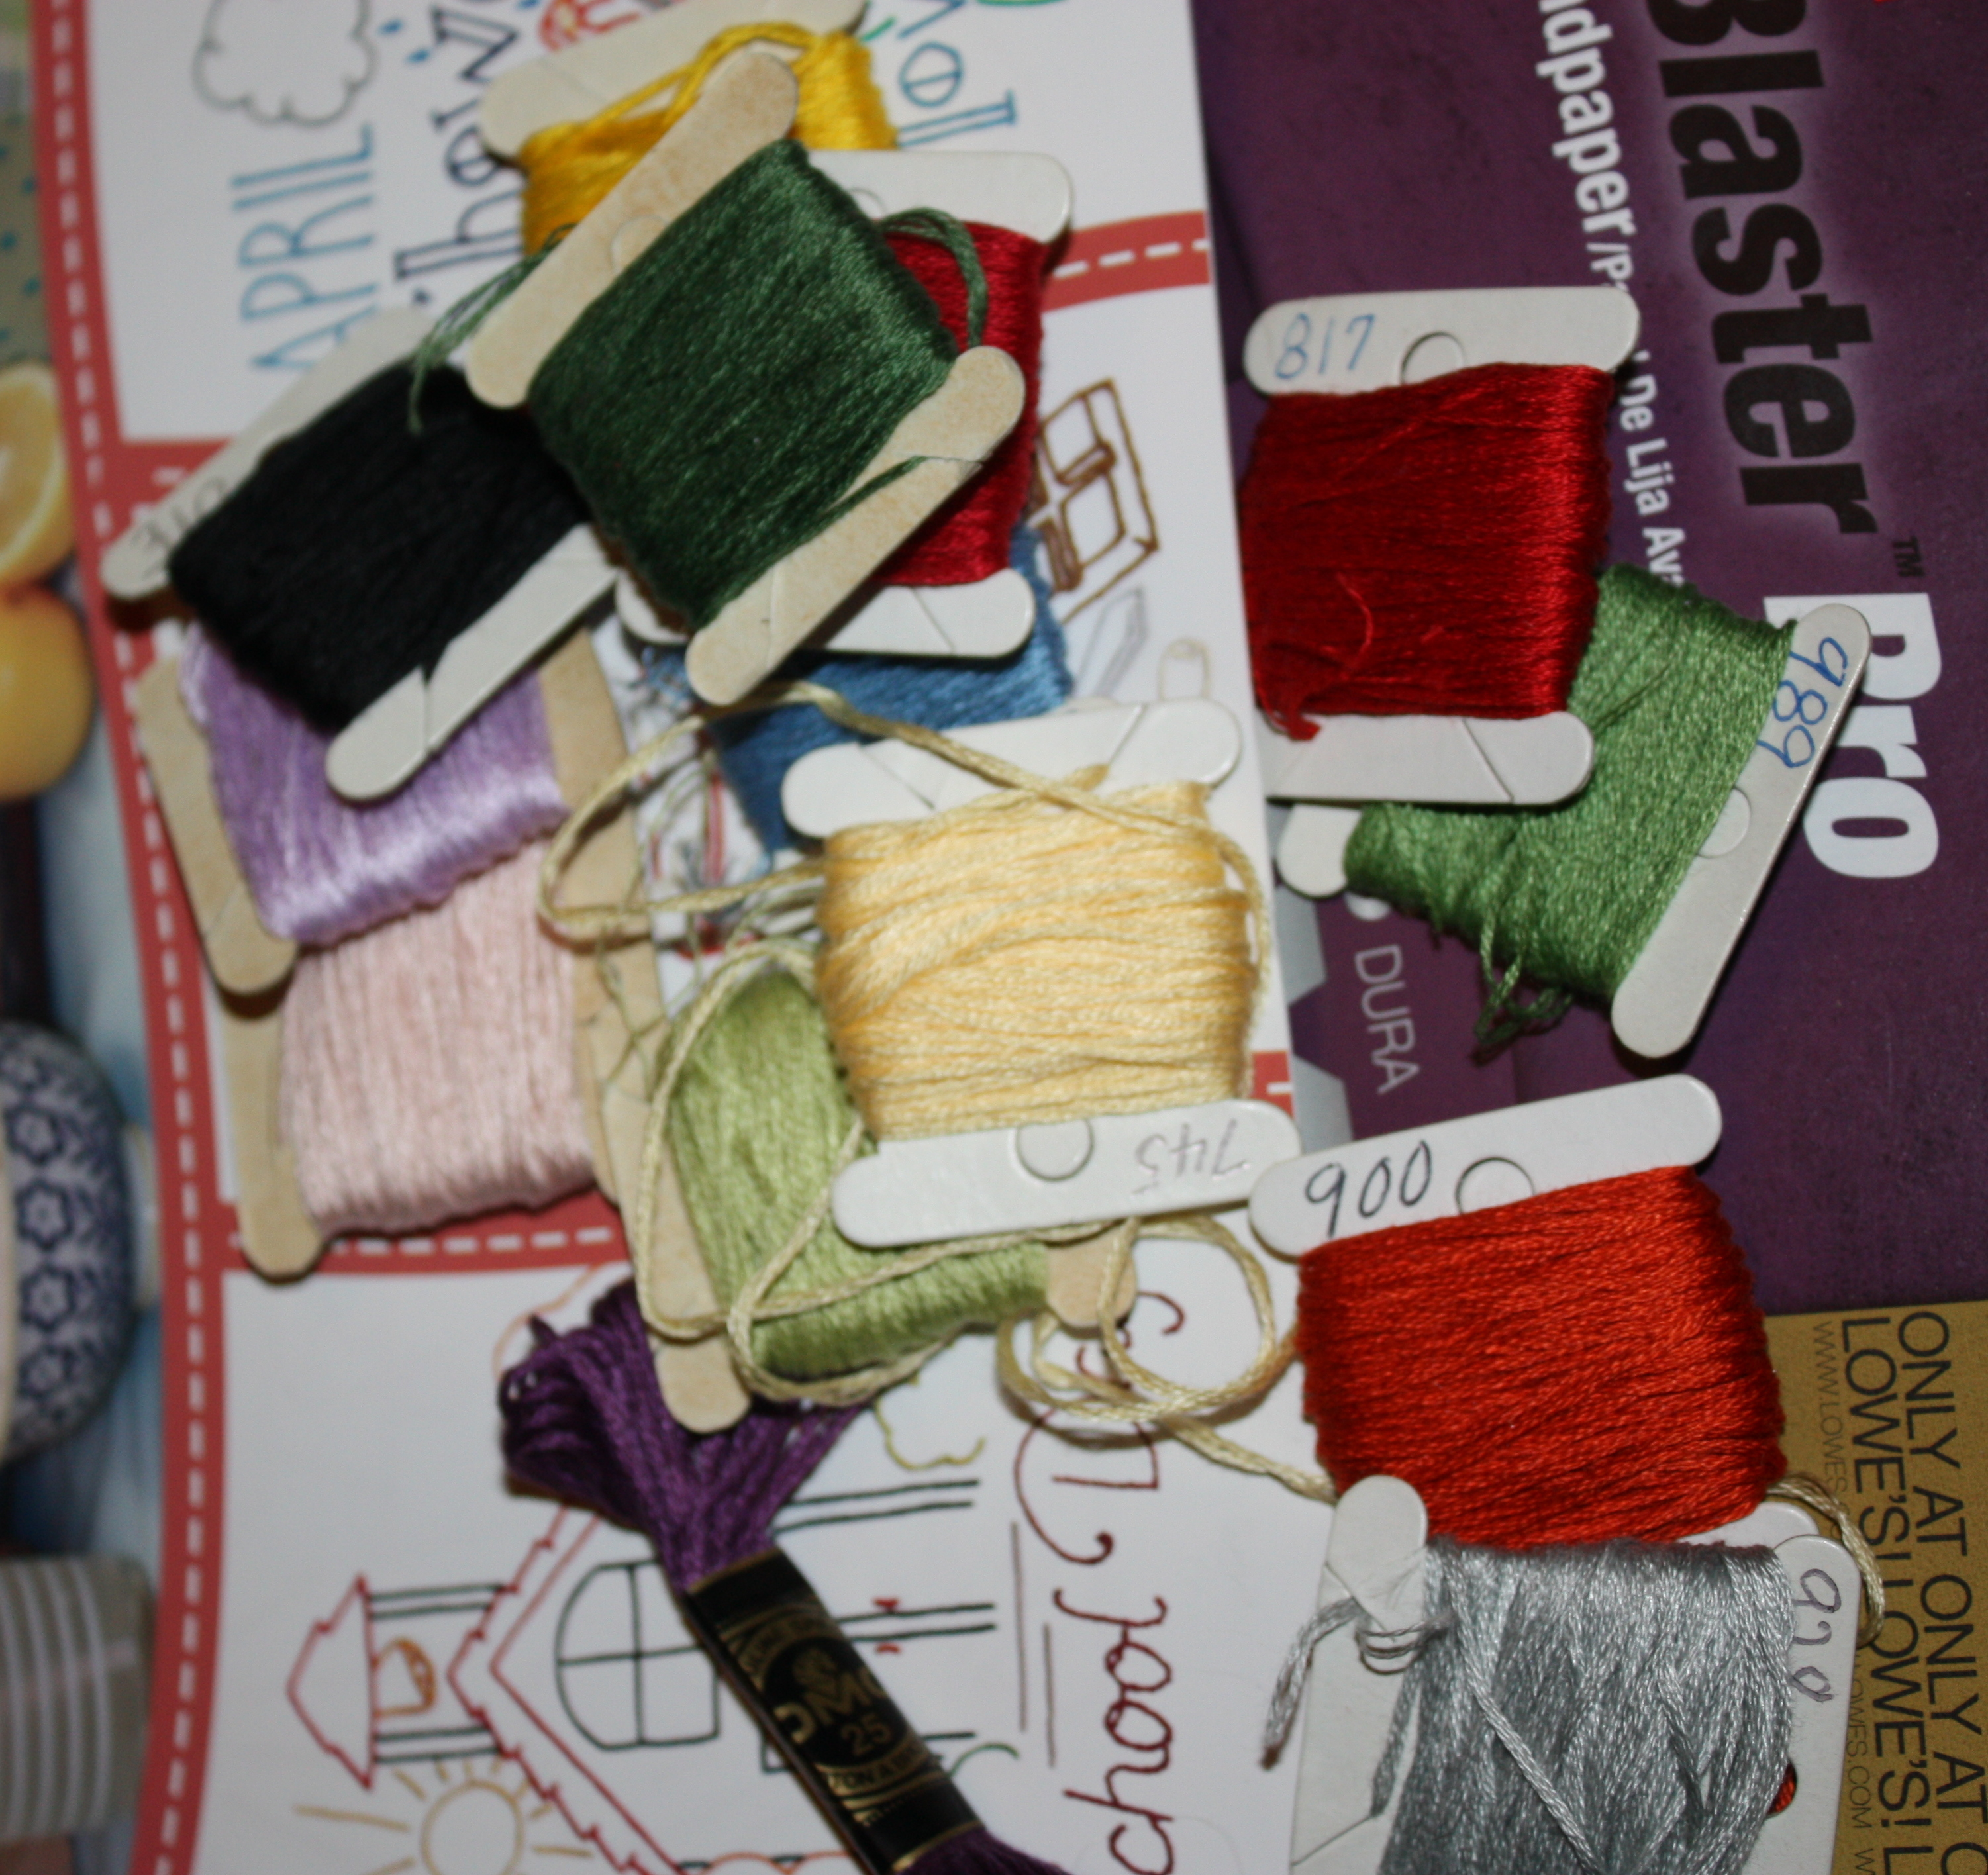
-embroidery floss
- embroidery needle
- embroidery hoop
-scissors
- time
OR
Aunt Martha’s also sells ball point paint, so you can capture the look of embroidery without the time or needles. I haven’t tried it, but I can imagine it is just like coloring or tracing, which sounds like fun to me.
What you’ll do:
-Select and cut out the image you would like
- Follow the directions in Aunt Martha’s books. She is one smart lady.

- Put your fabric in the embroidery hoop.

Now here are some tips…
- Don’t thread your needle with the entire thickness of the embroidery floss; split the floss. you will see that there are six strands twisted together to make the floss. You don’t need the thickness of all 6 strands.

See how you can adjust the thickness of your thread?
- Don’t tie a knot in your floss to begin. You can secure your stitches with a locking stitch.
- Try to be neat on the non-displayed side. While it won’t look like the front, you don’t want it to look like a hot mess. So, try to be a little organized. Be calculative in your next stitch.

This is the backside of the towel. I am trying to be neat. It won’t look perfect, but I want it to look nice
This will take some time, but the towels come out adorably cute!


I packaged this towel up along with three blank tea towels and a cute mason jar hand soap and gave it to my friend Gayle. I thought it was a sweet housewarming gift.
I am currently in the process of working on my next tea towel. Would a video tutorial be helpful to anyone? I’m no expert, unless you consider an expert a person who has completed one embroidery project…


