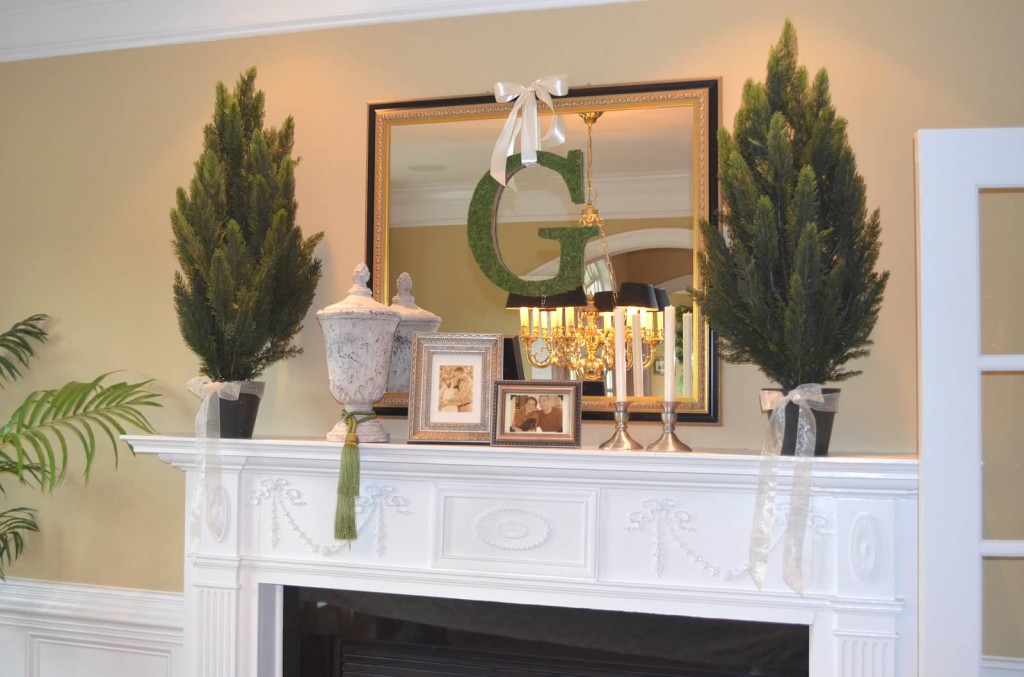
Here’s another craft that I made for the bride-to-be at her shower. After the vintage garden theme was settled, I knew right away that I had to make a moss covered letter. It was the perfect fit for the theme of the shower and could also serve as home décor for the bride and groom in their new house!
Choose a font for your letter. Again, since we have access to the LCD projectors at school, I used that to trace my letter onto paper. No LCD projector? Print out your letter on two pieces of paper and tape them together. Trace your letter onto your wood.
Note- I was working with a remnant piece of wood, so it was already cut into a square shape that was close to the border of my letter. You don’t want too much excess wood getting in your way as you cut.
Step 2:
Cut out your letter using the jigsaw. Use some sandpaper to smooth out the edges.
Step 3:
As with my other wood crafts, I decided to spray paint my letter in green. The moss won’t cover the sides of the letter and I wanted the wood to match.
Step 4:
Trace your letter onto the back of your moss sheet and carefully cut it out.
Step 5:
Using your glue gun, apply your moss. Make sure you have newspaper or toweling down to catch the many pieces of shedding moss.
Step 6:
Tie burlap or whatever ribbon you choose around the letter and it’s ready to hang. I think this looked just awesome on a mirror at the bridal shower.
This is a great craft for yourself or even as a gift!
Remember that time, I tried to cross-stitch a heart onto a sweater? It was a pathetic attempt about which I should be embarrassed, but here I am referencing it again. Instead of leaving this venture behind me, I decided to give it another go with embroidery on tea towels.
My friend Carrie and I were meandering through JoAnn Fabrics the other day (read: I was wandering around touching everything while Carrie was putting up with my glacial pace with the patience that only a mom of three and my friend can have), and we happened upon these adorably cute embroidery iron-ons. I assured Carrie that we would be successful even though she has heard me utter these words before and knows they are not always the truth, so we left the store with two books full of iron-ons.
I am glad to report that while embroidery is not the quickest thing, it is relatively therapeutic and relaxing (keep in mind that sometimes I use those two words to describe solving an algebraic expression, weeding a garden, or cleaning a kitchen). Seriously, it is oddly relaxing.
I “whipped” up my first tea towel for my forever friend Gayle, who just bought her first house! I thought a set of tea towels and a nice kitchen handsoap made a nice housewarming/hostess gift.
Here’s a quick little tutorial. If you are familiar with embroidery, this is not for you. However, if you have never embroidered anything and want some pointers from this newb, then read on, my friends.
What you’ll Need:
- Iron Ons– Like these. — That Aunt Martha knows a good vintagely cute iron-on when she sees one.
Aren’t these iron-ons ridiculously cute?
- Tea Towels– I made Gayle’s from Ikea towels, but JoAnn Fabrics sells a pack of them, or I would hit up Marshall’s to find some plain tea towels.
Ikea Tea Towels
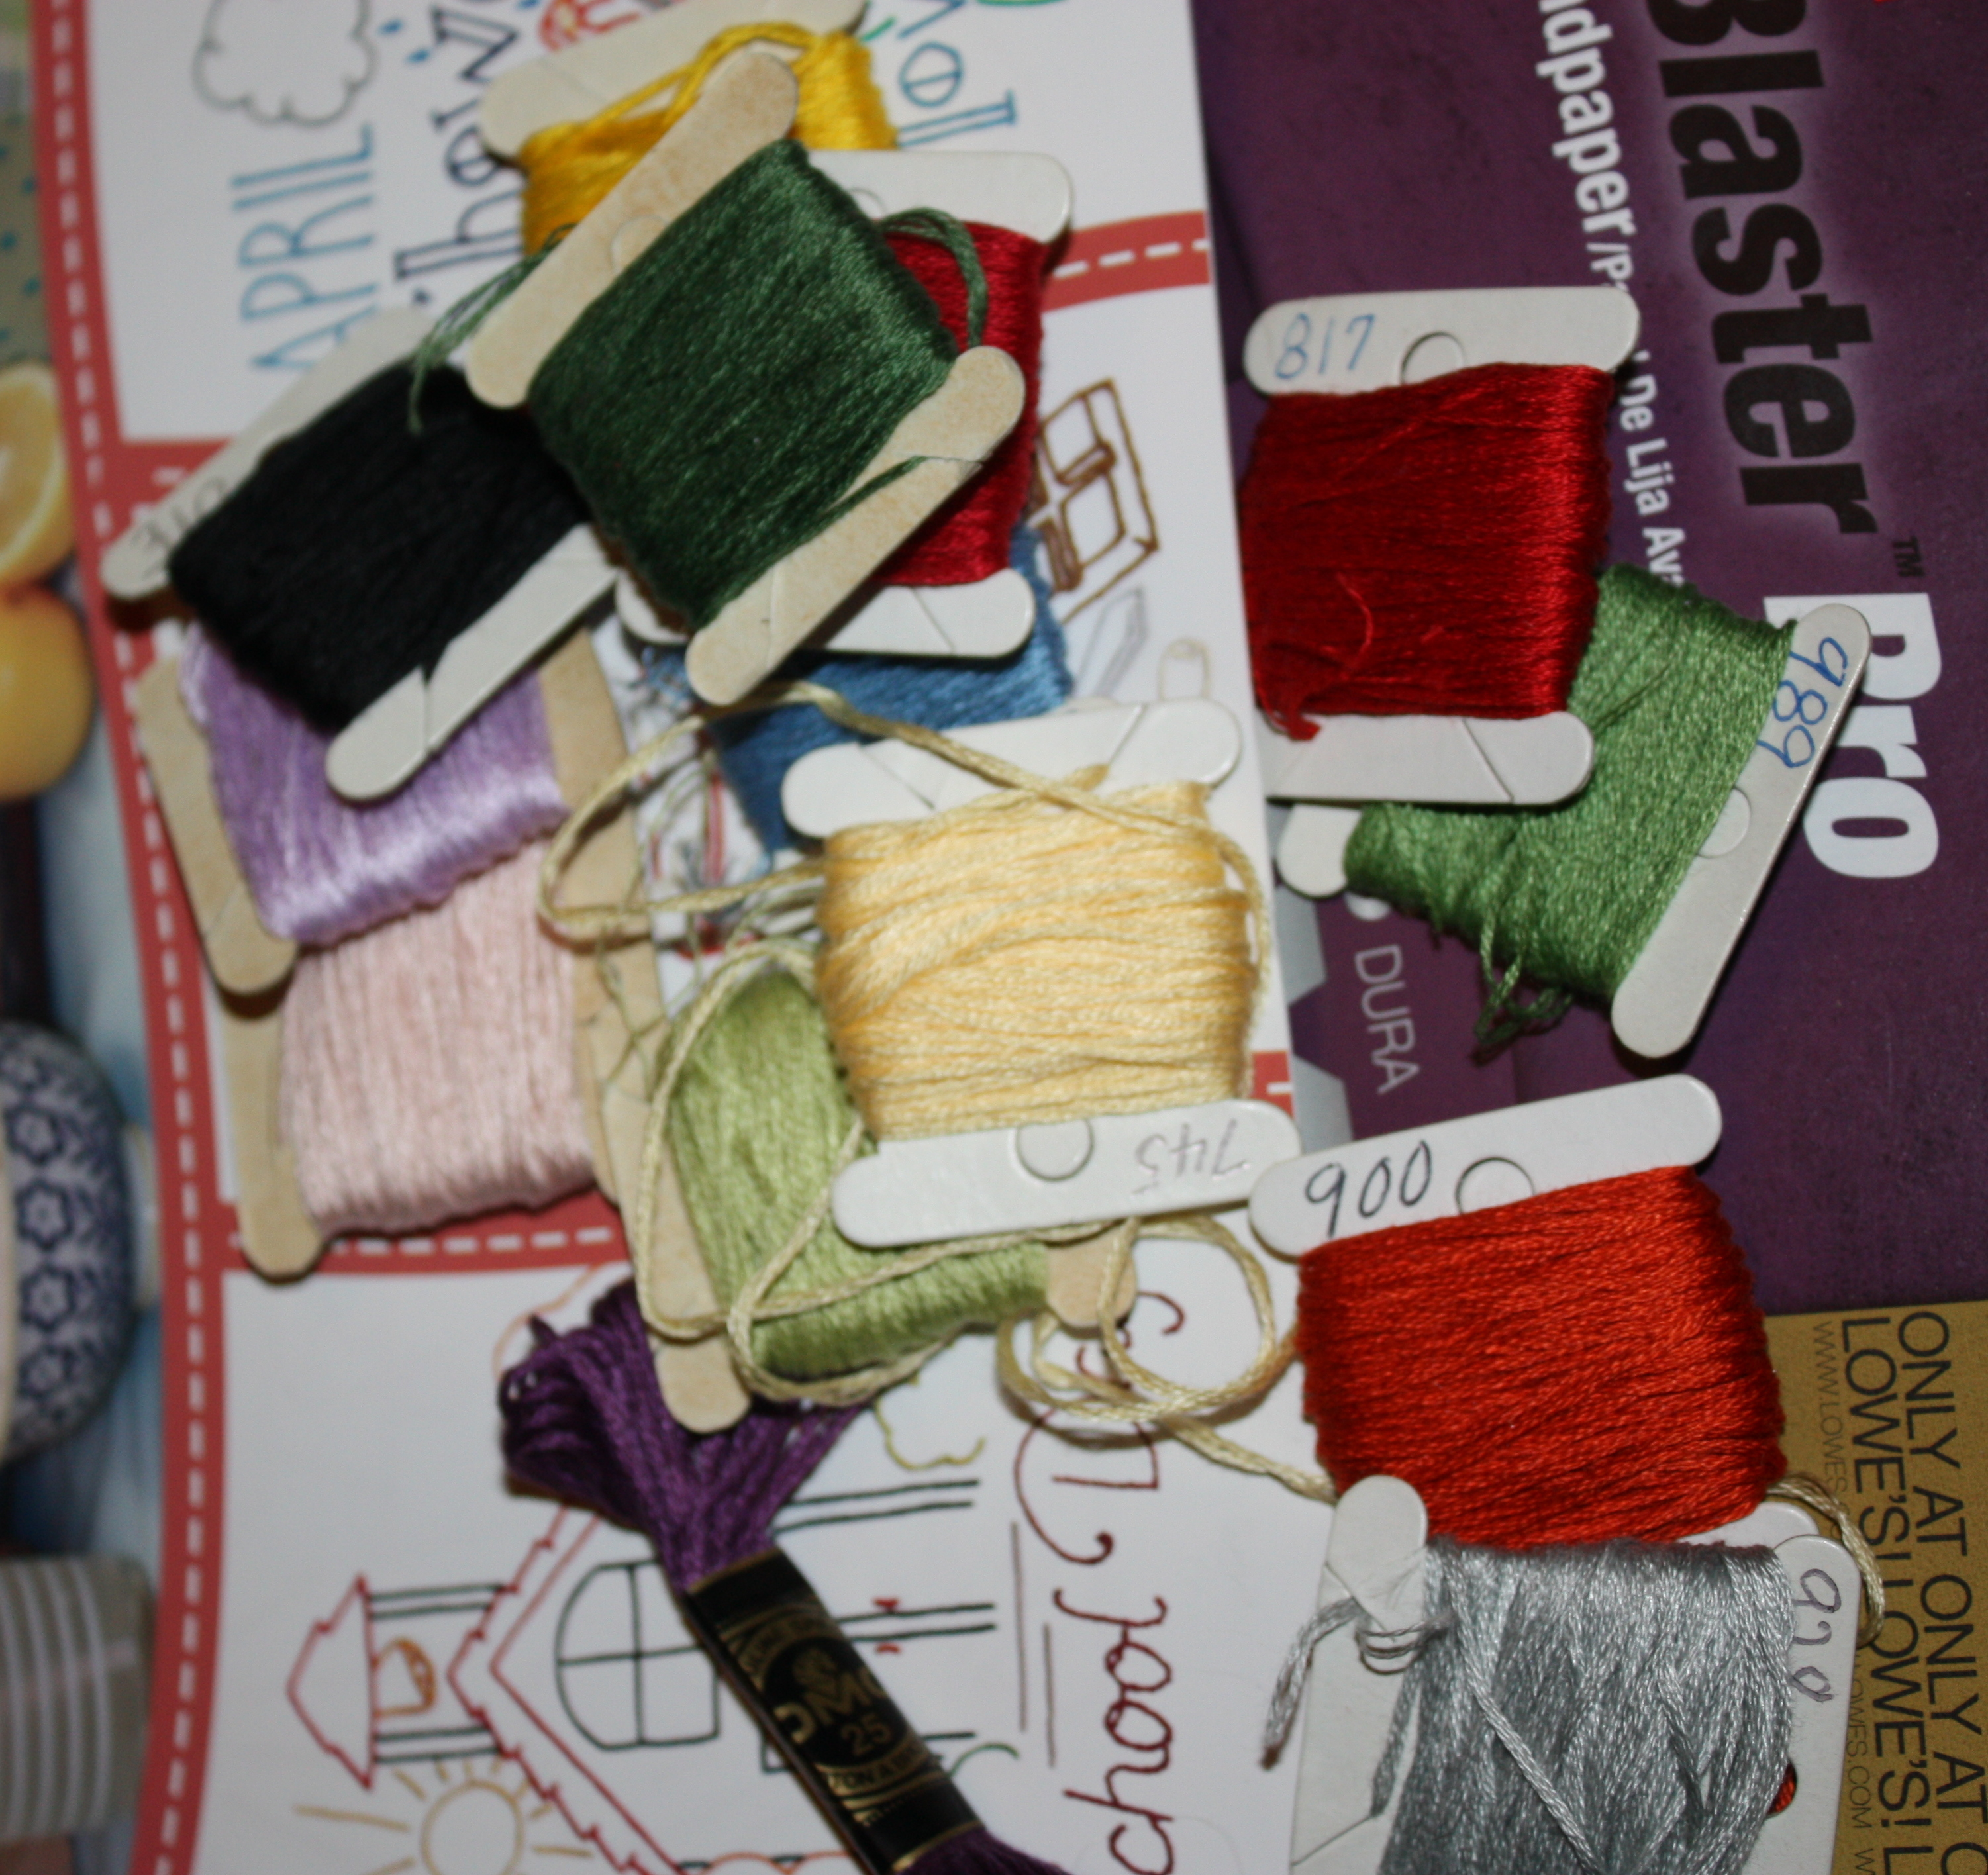
-embroidery floss
- embroidery needle
- embroidery hoop
-scissors
- time
OR
Aunt Martha’s also sells ball point paint, so you can capture the look of embroidery without the time or needles. I haven’t tried it, but I can imagine it is just like coloring or tracing, which sounds like fun to me.
What you’ll do:
-Select and cut out the image you would like
- Follow the directions in Aunt Martha’s books. She is one smart lady.
- Put your fabric in the embroidery hoop.
Now here are some tips…
- Don’t thread your needle with the entire thickness of the embroidery floss; split the floss. you will see that there are six strands twisted together to make the floss. You don’t need the thickness of all 6 strands.
See how you can adjust the thickness of your thread?
- Don’t tie a knot in your floss to begin. You can secure your stitches with a locking stitch.
- Try to be neat on the non-displayed side. While it won’t look like the front, you don’t want it to look like a hot mess. So, try to be a little organized. Be calculative in your next stitch.
This is the backside of the towel. I am trying to be neat. It won’t look perfect, but I want it to look nice
This will take some time, but the towels come out adorably cute!
I packaged this towel up along with three blank tea towels and a cute mason jar hand soap and gave it to my friend Gayle. I thought it was a sweet housewarming gift.
I am currently in the process of working on my next tea towel. Would a video tutorial be helpful to anyone? I’m no expert, unless you consider an expert a person who has completed one embroidery project…
This past weekend, my mother in-law hosted a bridal shower for our cousin Justine. My mother-in-law is truly the ‘hostess with the mostess’—her gatherings are always impeccable!
The theme of the bridal shower is vintage garden—think burlap, rustic, and natural. Each guest will receive a potted herb for her favor—which is where crafting comes into play!
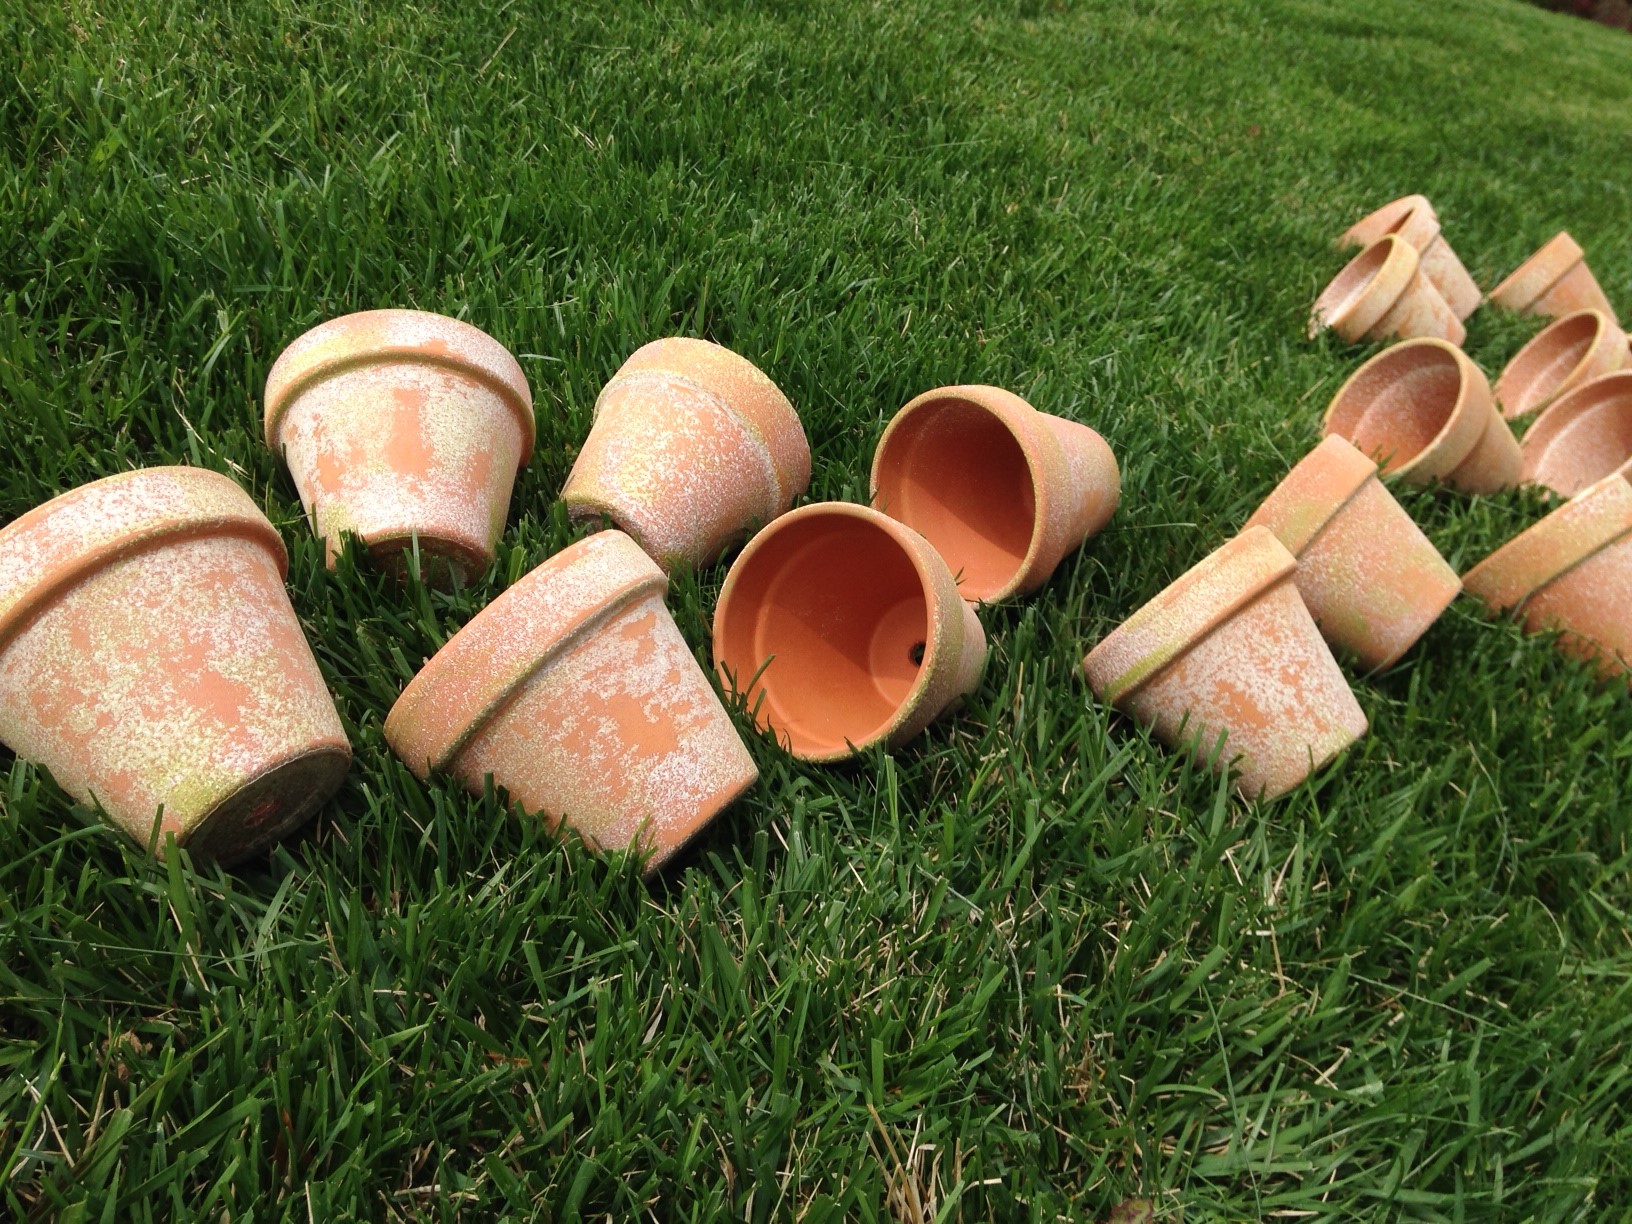
Here’s the method we used to get a faux aged look for our terracotta pots.
Sandpaper—we used the ones that look like a block/sponge
Newspaper/dropcloth for your spraying surface
Step 1:
Lay out your pots in an arrangement that is conducive to spraying. We had over 40 pots and bases!
Step 2:
Spray your heart out. The stone spray paint was really cool—very textured and it adhered to the pot quite well. Don’t cover every inch—remember in the end you want it to look like it has aged naturally.
Just a light spray will do. Let dry completely.
Step 3:
Using your foam brush, apply green paint on top of the spray paint. Again, do this sparingly. Don’t make it look perfect!
Step 4:
Stretch out those hand muscles a bit, because you’ll need them for the sanding! Sand each pot until the surface is smooth. We found that using a circular motion helped to blend the green and white a bit better. For a more distressed look, press a bit harder on the sandpaper so the clay pot itself shows through more.
So far so good! Look for the finished product with potted herbs in the Bridal Shower post.


 This is a great craft for yourself or even as a gift!