Posts Tagged ‘natural’

Burlap Wreath, Take Two

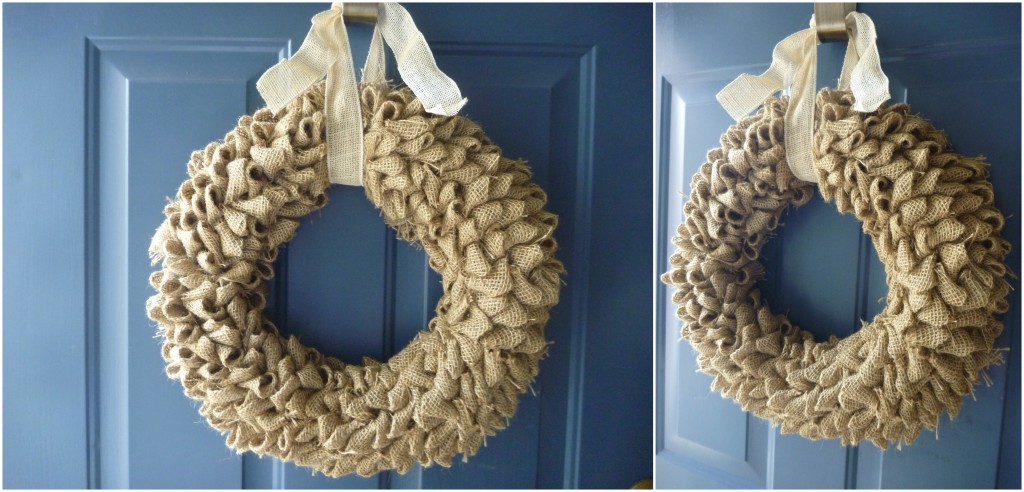
Way, way back Grace showed you how she made her easy Burlap Bubble Wreath. I too have made a burlap wreath, but mine is quite different than hers. I wanted it to look something like this wreath here, but I must have been a bad student and not followed the directions quite right. That’s okay though, because I actually like how mine turned out!         

What you need:

Burlap—mine was from burlapfabric.com

Wreath- I found that the one with compressed hay worked best—leave the plastic wrapping on!

Ruler

Scissor

Pins- at least 100


Step 1:

Cut your burlap. I cut my burlap into 3” x 3” squares. Be ready for a whole lot of burlap shedding—I found it easiest to cut my burlap over a large sheet of old wrapping paper. This way I could just crumple it up and toss it (and all burlap hairs) out. You need tons of squares, so make sure you have something entertaining to watch/listen to!


Step 2:

With wreath, pins, and burlap in hand, you’re ready to start assembling the wreath. You will fold each burlap square into a triangle:

square to triangle

From there, you fold it again into a loosely-shaped triangle:

loosely shaped triangle


Step 3:

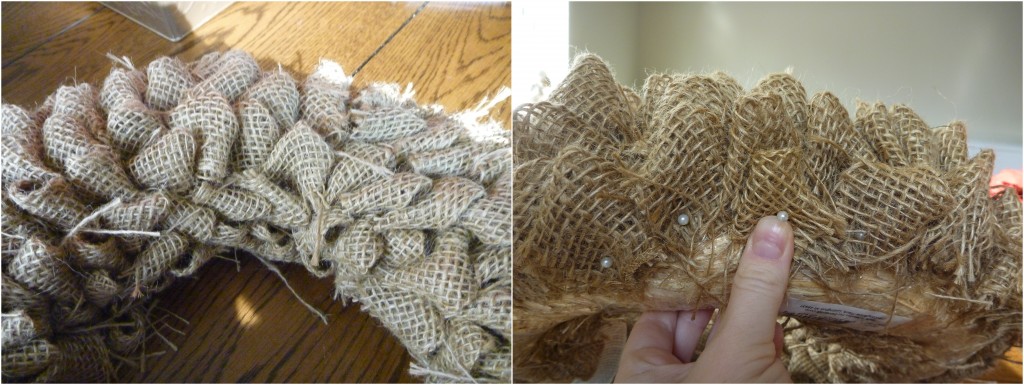
Begin pinning your triangles into the wreath. I found it easiest to start on the inside of the wreath and work my way to the outside part. The last pin for the outer area is on the bottom edge of the actual wreath, so it’s nicely tucked away.

Overlap your triangles so no wreath shows through and rotate the wreath as you go. You can see that my triangles are very tightly packed.

pinning wreath


Step 4:

Continue to pin all the way around the wreath. It took me about 150 pins, 1 per burlap square. If you make your squares bigger to start with and want a looser look, then you will use way less.


Step 5:

Grab some ribbon and hang up the wreath.

 finished wreath

I like this wreath because it has a very simple look to it. I’ve hung it up as is, but have also stuck a small grouping similar to these wooden flowers in there as well during the very early fall:

image taken from angelaromatics.com

image taken from angelaromatics.com


Another victory for our old friend burlap.


Burlap Webbing American Flag

When I first saw the red ticked burlap webbing that we received from burlapfabric.com, I immediately thought of two things: Christmas and American Flag. Since it’s a bit early for Christmas crafts, I’m going to share the Burlap Webbing American Flag that I envisioned and was (happily) able to create.

I knew the webbing would be a great fit for a rustic style American Flag—perfect for our home décor.

 Burlap Webbing American Flag

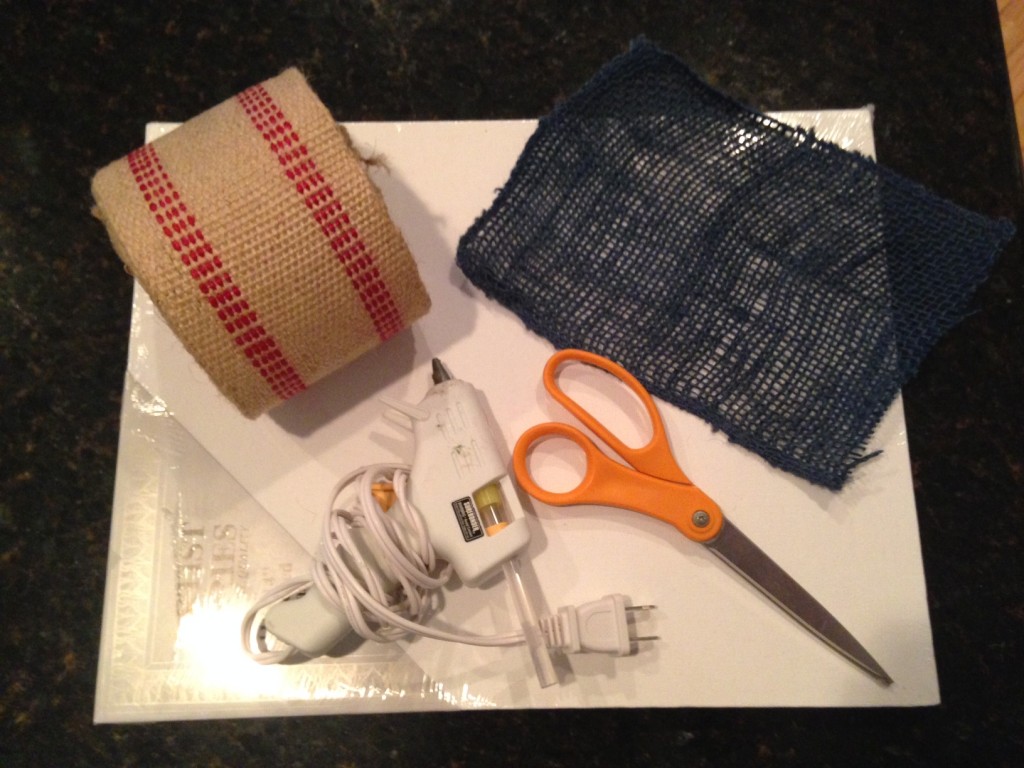
What you need:

Canvas (I suppose you could use wood too)

Red Ticked Burlap Webbing

Blue Burlap Garland (found in floral section of craft store) – or any leftover blue fabric you may have

Hot Glue Gun

Scissors

Optional- something for stars

Burlap Webbing American Flag

Step 1:

Cut your strips down to size so they fit your canvas. I chose to wrap my strips around the sides of my canvas so the white edges weren’t exposed. I did not wrap the bottom, as it will be leaning on a table or shelf, but I did choose to wrap the top. In total I needed 5 strips.

I also cut out a rectangle from my blue burlap garland to serve as the blue part of my flag.

Step 2:

Layout your strips next to your canvas. As you can see, the strips are quite a bit taller than the canvas, so you have to decide how you want to layer them in order for everything to fit on the canvas.

I wasn’t crazy about the uneven spacing between the red lines and burlap color, so I decided to layer my strips to hide the top red line on each piece of webbing. This would give me nice even red/burlap spaces.

Burlap Webbing American Flag

Step 3:

Fire up that glue gun and get to work. With each strip, I glued the left side of the canvas and simply worked my way to the right, again adhering it to the side of the canvas.

You can see how I cover the top red line on each piece of webbing in the photos below.

Burlap Webbing American Flag

Step 4:

Grab your blue burlap rectangle and glue it to your flag. Since the blue burlap had bigger spaces/was more see through, I was worried that gluing the entire rectangle down would show through to the surface. Therefore, I chose to glue down just the edges of the blue fabric—it stays on there just fine.

Burlap Webbing American Flag

Step 5:

Decision making time- stars or no stars? At the moment I have no stars on my flag and I think I will keep it that way. Reason 1: I like the simplicity of the flag without the stars

Reason 2: I made several attempts to cut small stars out of good old burlap, but each ‘edge’ of the star unraveled, leaving me with a 3 or 4 pronged/misshapen star. Perhaps if I see some pre-cut burlap stars that fit the bill at a craft store I will buy them and see if I like how they look on the flag.

Burlap Webbing American Flag

I just love how this craft came out! Currently it’s on the foyer table instead of its intended shelf destination—we’ll see if it stays put.


Happy 4th of July!!


A Vintage Garden Bridal Shower

So over the past few weeks I showed you how to Age Terracotta Pots, create a Moss Covered Letter, and emboss some paper goods. All of these crafts were part of a bridal shower, hosted by my mother-in-law for our cousin Justine. The theme of the shower was vintage garden and boy did the house transform and play the part beautifully!

Here are a few shots from the shower—it’s amazing what a bit of planning, creativity, and elbow grease can accomplish! I think it was beautiful and the pictures do not even do it justice.

Vintage Garden Bridal Shower
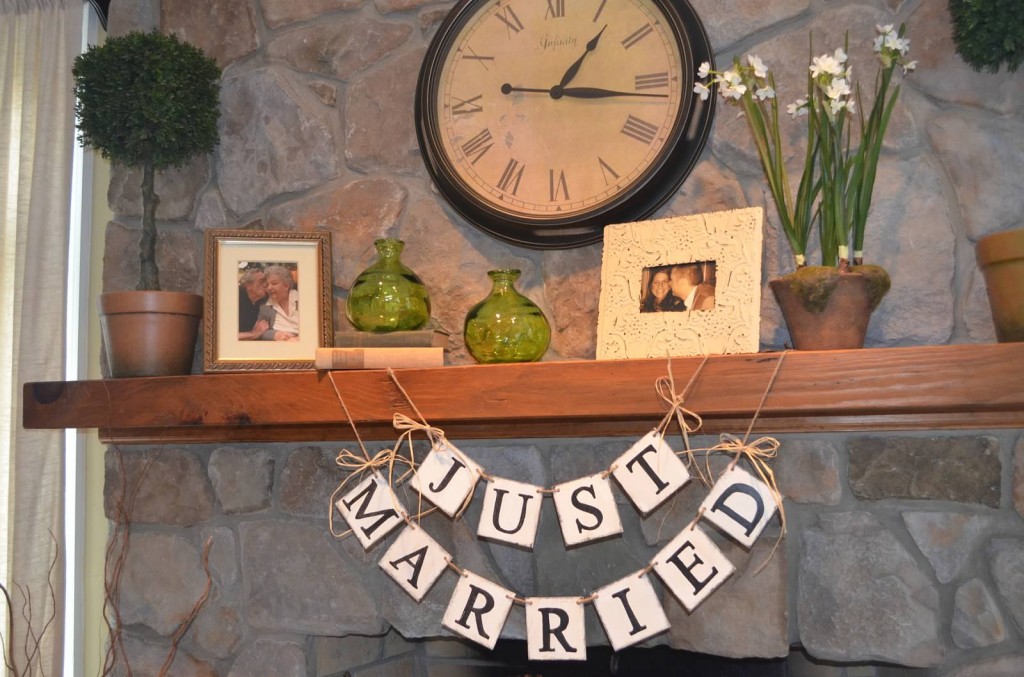
I just love this sign. My mother-in-law hand painted the letters and distressed each one—I thought it was a printable it looks so perfect! The raffia is a great touch to add to the vintage feel of the shower. Since this sign isn’t customized to the bride and groom, the family can use it for future weddings.

Vintage Garden Bridal Shower
There were lots of small chalkboards throughout the shower—with cute wedding related phrases or quotes. This just solidifies the notion that chalkboards are the perfect décor for any occasion.

Vintage Garden Bridal Shower
The laundry room underwent a transformation and became the drinks/dessert area. Never underestimate the power of white tablecloths and a burlap accent runner. A few garden related items were all that were needed to connect this room to the theme.

Vintage Garden Bridal Shower
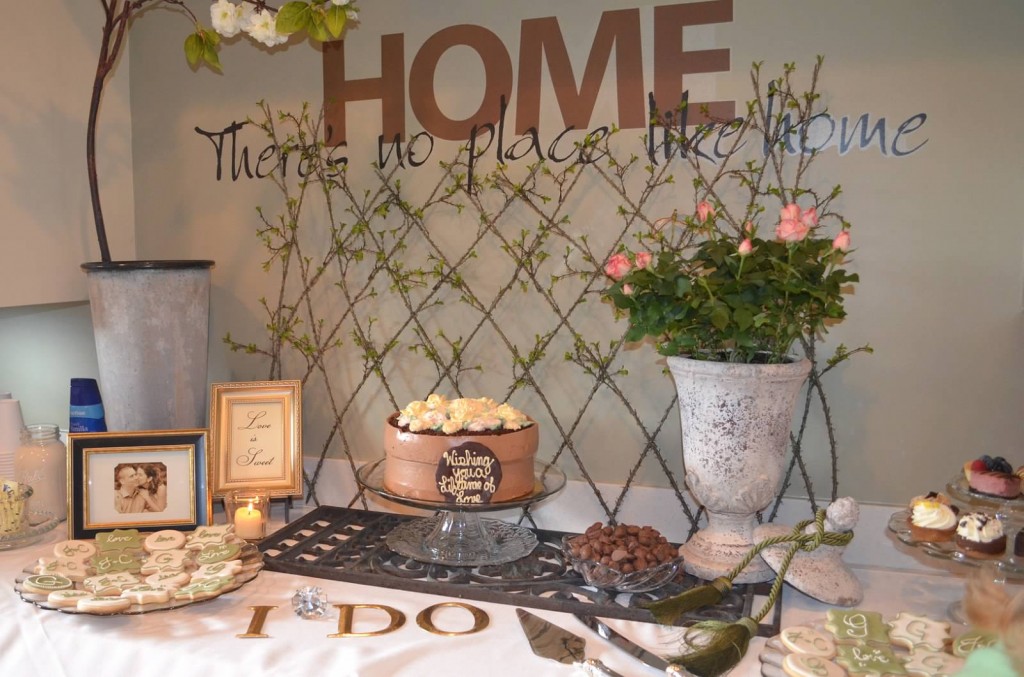
The desserts served were mini pastries, cookies, and that gorgeous cake—made to look like a terracotta pot with flowers! It was not only pretty to look at but pretty delicious too.

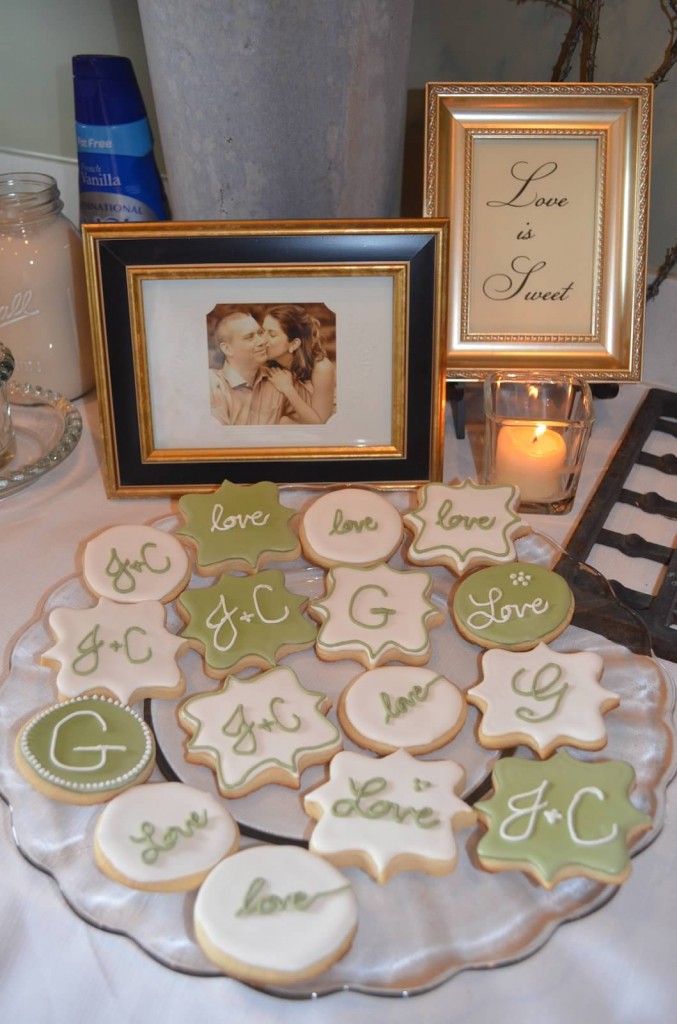
Vintage Garden Bridal Shower Cookies
The cookies were made by yours truly. I have been dying to try out the frame cookie cutter (from Karen’s Cookies) and thought that this was the perfect occasion. Given the natural theme, I wanted do to more subdued and simple cookies. It was my first time writing with icing, and I think they came out pretty good!

Vintage Garden Bridal Shower
As the shower was in the mid afternoon, the food served was light and refreshing. The greenery of the different salads enhanced the theme and looked lovely on the table.

Vintage Garden Bridal Shower
Check out this moss covered gift box that my sister-in-law, Lauren, made. Is it not the cutest thing ever? It served as décor right up until Justine opened it as a gift. Lauren is a graphic designer and extremely artistic/clever. Not only did she make the box, but also the gift inside—a cute frame that acts as a wedding ring holder. Maybe one day Lauren will feature some of her talents on our blog :)

Vintage Garden Bridal ShowerThe Moss Covered G that I posted about earlier looked great in the dining room. In addition to being décor, it serves as a personalized gift for the bride and groom.

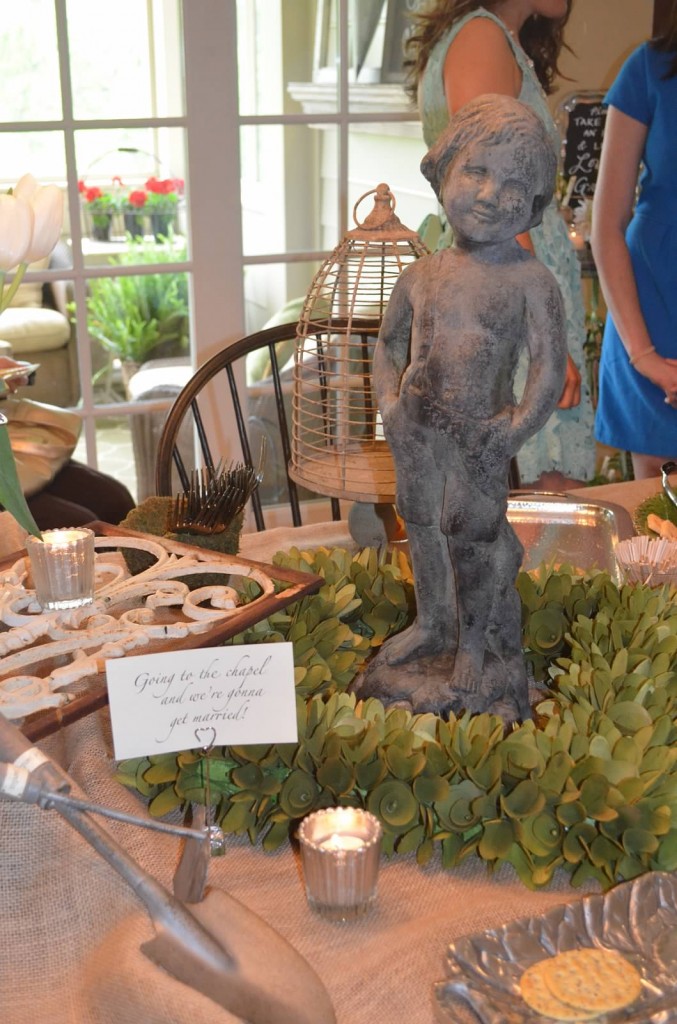
Vintage Garden Bridal ShowerAside from the food in the dining room, there was also a table full of fruit, cheese, grilled vegetables, dips, etc. Again, all finger food that was light and well suited for an afternoon shower. I thought the table scape was beautiful.

Vintage Garden Bridal ShowerSee this statue? Can you believe my mother in law aged this herself?? Incredible!

Vintage Garden Bridal Shower
The bride and groom received many well wishes on the wishing tree. The embossed tags from my earlier blog post looked great on the tree. The tree was a gift for the bride and groom for their new home.

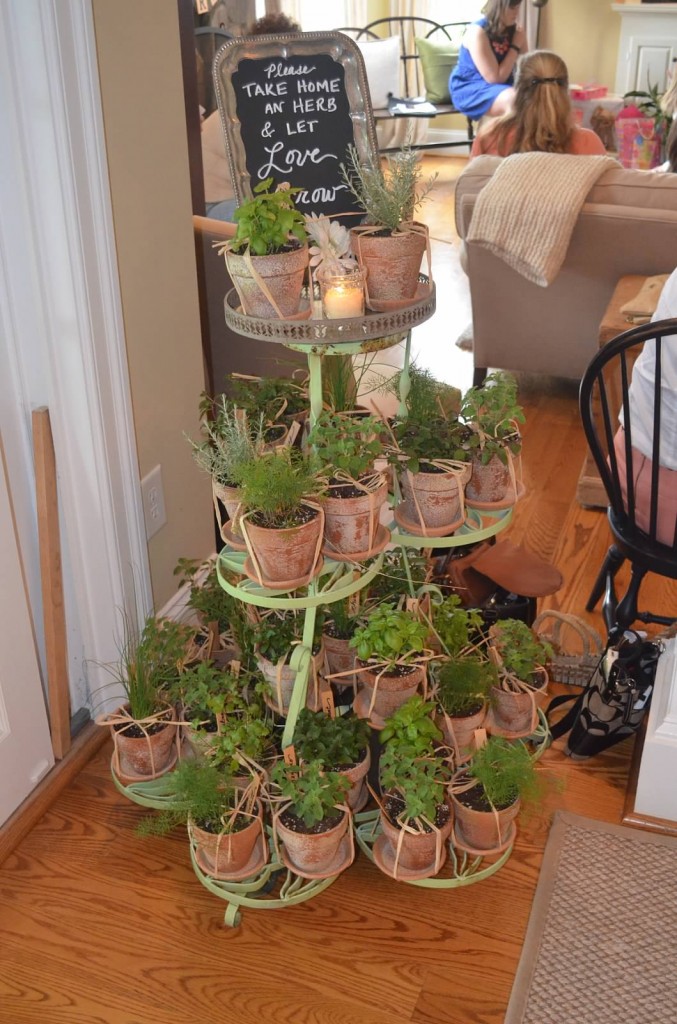
Vintage Garden Bridal ShowerRemember those terracotta pots we showed you how to age? Here’s the final product! Each guest received an herb to take home—the pots/herbs were a huge success, everyone loved them. Talk about a perfect favor for a vintage garden shower!


The shower was a wonderful day for everyone—especially for the bride and her family. It was a lot of fun making some of the crafts that were featured in the shower. With lots of younger siblings and cousins in our family, I’m sensing that there might be more happy family occasions to plan and craft for in the future!

1 2 3